
Quick answer: How to build a retaining wall comes down to five stages. Plan the wall and check whether approval is needed, excavate and lay a compacted footing, install drainage behind the wall, build up course by course while backfilling and compacting in layers, then cap and finish. Drainage is the stage most DIY walls get wrong.
A retaining wall looks simple from the outside. Stack some sleepers, backfill behind them, done. What that view misses is that the wall is holding back tonnes of saturated soil, and the parts that fail tend to fail slowly and then all at once.
This guide covers how to build a retaining wall in the order the work actually happens, from the first tape measure to the last cap. It focuses on what matters on Adelaide blocks in particular: reactive clay soils, coastal sand, summer ground movement, and the approval rules that catch people out after the materials have already been delivered.
15+
Years Building Adelaide Walls
4
Retaining Wall Material Types
1.0m
Height That Triggers SA Approval
Free
Site Visit and Written Quote
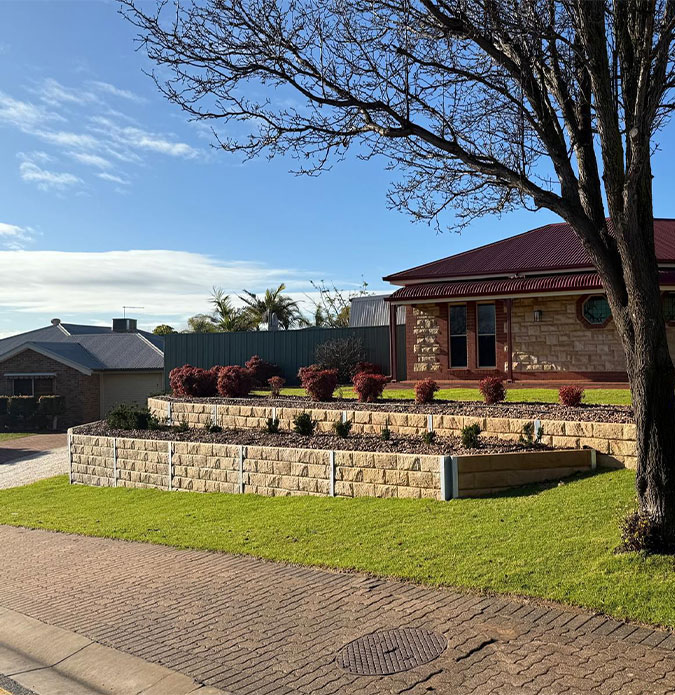
Planning Your Retaining Wall
Planning determines the height, the material, the footing depth, the drainage design and whether development approval is required. A 400mm garden edge and a 1.2 metre wall supporting a driveway are different projects governed by different rules, and treating them the same is where most retaining wall problems begin.
Before you work out how to build a retaining wall, be clear on what the wall has to hold back. Height drives nearly every downstream decision, but what sits above the wall matters just as much. Soil alone is one thing. Soil carrying a driveway, a shed, a pool or a neighbour’s fence is a surcharge load, and that changes the design entirely.
Check Approval Before You Order Materials
In South Australia, retaining walls over 1.0 metre in height generally require development approval. Several other conditions can also trigger requirements.
Confirm With Your Council If:
- The finished wall will stand over one metre in height.
- The wall sits on or close to a property boundary.
- Anything structural sits above the wall as a surcharge load.
- The build alters how stormwater moves across your block.
How to Build a Retaining Wall: Choosing the Right Material
Material choice follows height, soil conditions, drainage, site access and the finish you want. There is no single best option, only the right one for the block.
Timber sleepers: A popular choice for garden beds and smaller level changes. Provides a warm, natural look and a practical option for efficient installs. Indicative cost sits from around $250 to $350 per lineal metre.
Concrete sleepers: A strong, long term option suited to longer runs and higher load zones, delivering clean lines and a tidy finish. Indicative cost ranges from $350 to $600 and above per lineal metre.
Stone, block and boulder: Ideal for a premium landscaped finish and standout street appeal, particularly in front yards and feature areas. Indicative cost starts around $800 and above per lineal metre.
Gabion: Rock filled cage walls that suit modern designs and drainage heavy areas, offering a bold finish with excellent water flow performance through the structure.
Cost figures above are a general guide only. Real pricing moves with wall length, site access, excavation depth, drainage requirements and whether an old wall or fence needs removing first.
Check What Is Underground and Who Else Is Involved
- Locate services before digging. Water, gas, power and telecommunications all run through suburban yards.
- If the wall sits near a boundary, talk to your neighbour early about placement, height and access.
- Check access for machinery and material delivery, because tight side access changes both method and cost.
- Map where water currently runs across the site, and where it will run once the wall is in place.
Excavation and Foundation
Excavation sets out the wall line, removes topsoil and unstable fill, and establishes a compacted footing on firm ground. Everything above ground is only as good as the base beneath it, and a wall built on soft or uneven ground will move regardless of how carefully the courses are laid.
This is the stage most people are tempted to rush, because none of the work is visible in the finished result. It is also the stage that determines whether the wall holds its line in ten years.
- Set out the line. String lines and pegs mark the face of the wall. Confirm the line is straight, corners are square and levels are marked before a shovel goes in.
- Excavate the trench. Dig back far enough to leave working room behind the wall for drainage and backfill, not just the width of the wall itself.
- Reach firm ground. Remove topsoil, fill and anything soft. On Adelaide’s reactive clay soils this often means going deeper than expected.
- Lay and compact the footing. A compacted granular base for sleeper systems, or a concrete footing where the design requires it. Compact in layers rather than all at once.
- Level and check again. The base course sets the alignment of every course above it, so time spent levelling here is repaid across the whole wall.
For post and sleeper systems, post holes need to be dug to the depth the design specifies and concreted properly. Post spacing, hole depth and concrete volume are structural decisions, not places to save an afternoon.
The Importance of Drainage
Water pressure building up behind a wall is one of the most common causes of retaining wall movement. Drainage relieves that pressure using agricultural pipe, free draining aggregate, geotextile fabric and a legal discharge point, all installed as the wall goes up rather than afterwards.
When soil behind a wall saturates, it gets heavier and pushes harder. A wall designed to hold dry soil can be overwhelmed by that same soil after a wet week. Drainage exists to stop water collecting there in the first place, which is why it is the section of this guide worth reading twice.
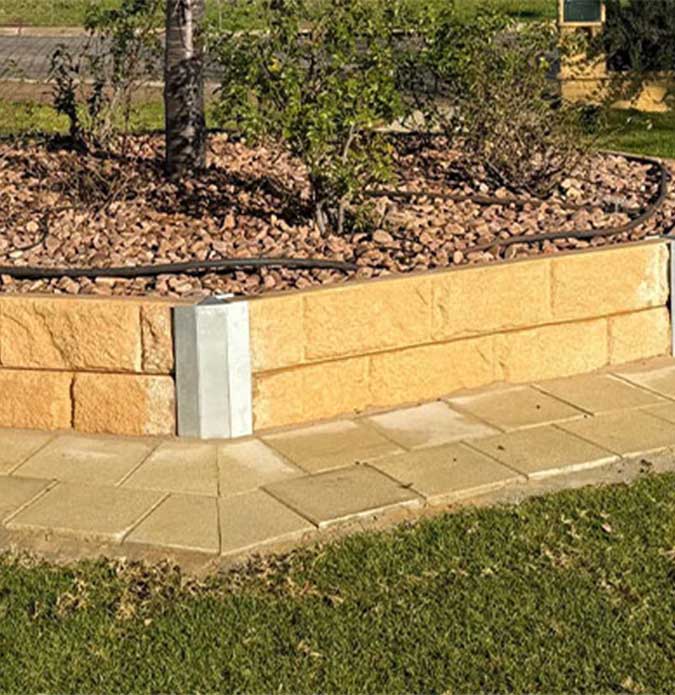
What Proper Drainage Involves
- Agricultural pipe laid along the base behind the wall, with fall running toward an outlet.
- Free draining backfill, usually clean aggregate, rather than the clay you have just excavated.
- Geotextile fabric separating aggregate from surrounding soil so fines do not migrate in and clog the drainage over time.
- A real outlet. Drainage that runs to nowhere is not drainage. It must discharge to a legal stormwater point or a suitable surface location.
- Surface management above the wall so runoff is directed away rather than straight down behind it.
Drainage becomes invisible the moment the wall is finished, which is exactly why it gets cut when a job is being done cheaply. It is also the hardest element to retrofit, because fixing it usually means pulling the wall apart.
Building the Wall
Construction runs course by course from a dead level first course, checking alignment as the wall rises, backfilling and compacting in layers, maintaining the designed setback, then capping the top. Good planning, a solid footing and correct drainage make this stage straightforward.
Construction is what most people picture when they ask how to build a retaining wall, but by this point the outcome is largely already decided. The earlier stages either set you up to succeed here or guarantee that you cannot.
- Place the first course. Set it dead level along its full length and check end to end. Every error here multiplies with height.
- Build up in courses. Check level and alignment as you go rather than at the end, and stagger joints where the system calls for it.
- Include the setback. Many systems are designed to lean slightly back into the slope. That batter is structural, not cosmetic.
- Backfill in layers. Add drainage aggregate and fill in lifts, compacting each one. Filling the cavity in a single pour leaves voids that settle later.
- Compact carefully near the wall. Heavy plate compaction directly behind a wall can push it out of line, so work that zone with care.
- Cap and finish. Capping protects the top course, sheds water and gives the wall its finished line.
If a fence is going on top or alongside, plan it now rather than later. Post positions, fixing methods and height transitions are far cleaner when the wall and the fencing Adelaide works are treated as one scope.
Not Sure Your Block Suits a DIY Wall?
We Assess Slope, Soil, Access and Drainage On Site
You get a clear written quote covering materials, scope, timeline and any demolition or removal. No obligation.
Why Hire a Professional
Low garden walls are genuinely within reach for a capable DIYer. Once height, surcharge loads, difficult soil or approval requirements enter the picture, a licensed builder carries the engineering knowledge, insurance and equipment that a weekend build cannot replicate.
Knowing how to build a retaining wall is not the same as being able to certify that one will still be standing in twenty years. The honest dividing line is height and load, not confidence with a shovel.
Reasonable DIY Territory
- ✅ Low garden edging and small level changes.
- ✅ Nothing structural sitting above the wall.
- ✅ Stable ground with straightforward drainage.
- ✅ Well clear of boundaries and services.
Call a Licensed Builder
- ⚠️ Walls over one metre needing approval or engineering.
- ⚠️ Driveways, sheds or pools loading the wall.
- ⚠️ Reactive clay, coastal sand or poor drainage.
- ⚠️ Boundary walls and failing wall replacements.
Where Professional Work Earns Its Cost
- Engineering and compliance. Higher walls may require engineering and approvals, and getting that wrong can mean rebuilding at your own cost.
- Correct drainage. The part that is invisible, easy to underestimate and expensive to retrofit.
- Accurate site assessment. Slope, soil type, access and existing drainage all change the method, and reading a block accurately comes from having built on many of them.
- Licensing and insurance. A licensed builder carries responsibility for the structure. A weekend build carries it personally.
- Machinery and time. Excavation, material handling and compaction move quickly with the right gear and slowly without it.
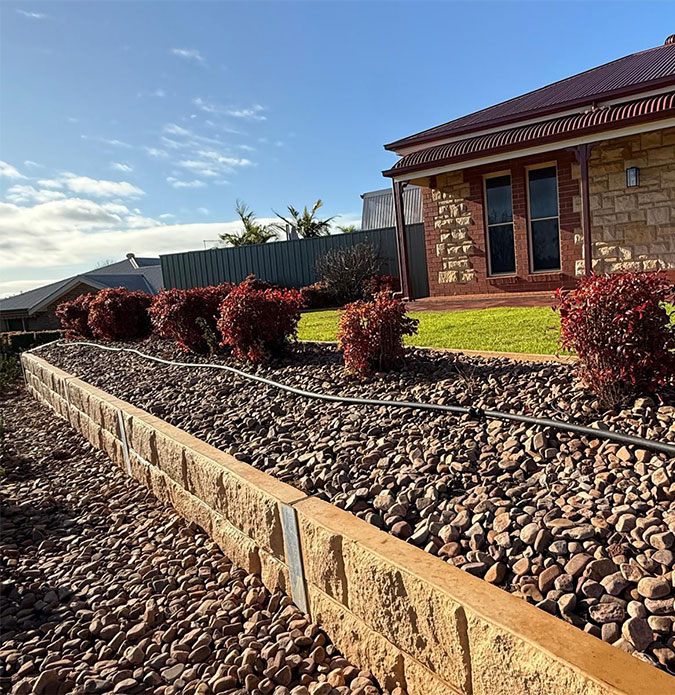
Built by Adelaide Landscaping Group
We have built retaining walls across Adelaide for more than 15 years, licensed under BLD 179371 and insured. We assess the site, confirm the right approach, quote it in writing, build it, then clean up and walk you through the finished result.
The short version is this. Plan for the load rather than the look, build on firm compacted ground, drain it properly, backfill in layers, and be honest about the point at which a wall stops being landscaping and starts being a structure. That is the point where the cost of getting it wrong stops being measured in wasted weekends. If your project sits on the wrong side of that line, our retaining walls Adelaide team can take it from the site visit onward.
